
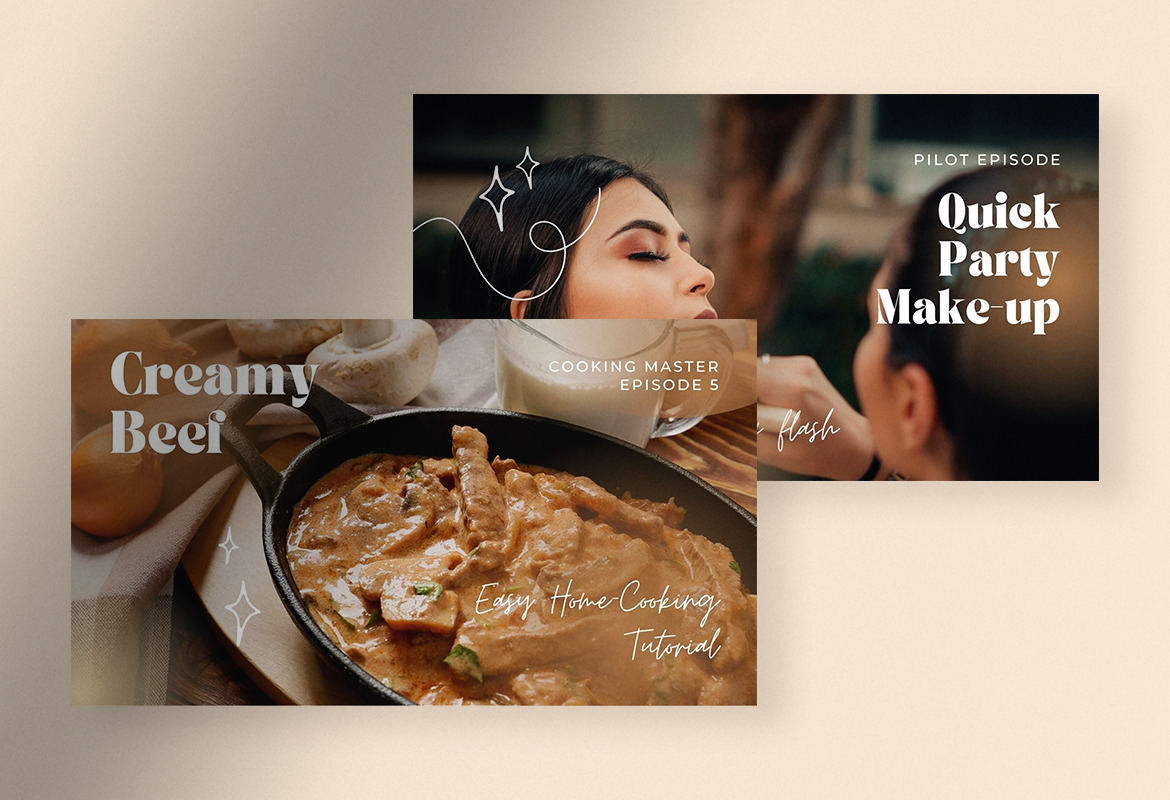
To create a great cooking tutorial video, follow these steps: Film your clips in natural lighting, use a second camera, add voice-overs, and use After Effects. Shorten your clips to 30 seconds each and use an external microphone to improve sound quality. Add background music to create a more enticing video and add interesting graphics or text to give the video a professional feel. Don’t forget to add a subtitle!
Filming in natural lighting
Filming a cooking tutorial video in natural light can be tricky. It can be tricky to find areas with sufficient natural light, as well as obstacles. To avoid this, you will need to carefully plan the shot locations. You may also need to use practicals, such as reflectors and flags, to improve the quality of natural light shots. Lighting can also be controlled with dimmer switches. In the end, the natural lighting will give your video a more professional look.
The key to a professional-looking video is proper lighting. Even the most expensive camera won’t produce a professional video if the lighting is not right. Use natural sunlight from the window when possible, as this is the most free option. Turn off the lights in the kitchen, as most light fixtures emit a yellow glow. You can also use a camera with white balance settings so that you have a consistent color temperature.
Using a second camera
Creating a cooking tutorial video is relatively easy. The main goal is to keep it short and sweet, while still presenting the recipes and techniques in an interesting way. You can use a second camera to increase the quality of sound and video. To create an effective cooking tutorial video, you’ll want to avoid using background music or other distracting elements. You’ll also want to make sure that your food is properly lit so that it looks its best in the video.
Whether you choose to shoot from above or below, a second camera can help you create the best quality video. It will allow you to capture the cooking process from a different perspective. If you choose to use a traditional top-down shot, it’s important to avoid distracting background noise such as dog barking. Instead, focus on making sure that all the sounds recorded by the camera are actually related to the food and cooking process. You can also shoot slow-motion videos to capture sizzling food.
Adding voice-overs
Adding voice-overs to your cooking tutorial video can add a great deal of value to your videos. If you want your viewers to understand your tips and tricks, it is important to have your voice actors read your script in an easy-to-follow manner. When writing the script, remember to follow the basic principles of copywriting. Use short sentences and clear, concise paragraphs to communicate your ideas.
Once your voiceovers are recorded, the next step is to edit them. It is important to listen back to your recording to catch any mistakes and delete unwanted parts. You should also have your script ready, as winging it will lead to unclear speech and filler words. If you have recorded several voice-overs at once, you can use the same audio file for multiple videos. The final product will be more polished and professional.
Using After Effects
There are various ways to create a cooking tutorial video. You can use templates and animation to create a visually interesting video. Many cooking shows feature a top-down perspective and can be made in different formats and with various equipment. If you are a beginner, you can start by downloading a template or free assets from the Internet. Depending on the type of video you are making, you can use a different template.
After Effects is a powerful software application that allows you to create visual wizardry. Initially developed in 1993, this software program has been acquired multiple times. The Company of Science and Art (CoSA) developed two versions of the program that allowed you to composite layers and transform layers. Apple bought the company and developed a range of additional tools. You can use them to automate your workflow and enhance the functions of After Effects.
Using WeVideo
If you’re considering creating a cooking video, WeVideo is a great tool to use. You can create a simple video or a more complex one incorporating a variety of multimedia tools. You can even upload multiple videos in a single account and share them on social media. After you’ve made your video, you can edit it and add effects to it as you see fit. WeVideo makes this process as easy as possible.
You can add text, graphics, and audio to your videos with WeVideo. You can also add transitions and audio to your videos. You can also choose the format of your video, such as square, horizontal, or vertical. You can use any format you’d like, as long as the video is at least 30 seconds in length. However, the free plan restricts you to 15 minutes per month.
Using Animoto
A digital storytelling tool such as Animoto is a great way to create instructional videos for students. These videos take just minutes to create and can be posted anywhere. They can even be downloaded for in-class presentations. It’s also easy to create custom themes for your videos. Here are some examples of custom themes. One of the most common themes is food. There are many other designs available. Just pick one that fits the topic and style of your video.
When creating your cooking tutorial video, don’t forget to think about aesthetics. Remember that visually creative content performs best, so paying attention to the look and feel of the video is very important. It also improves the video’s quality. Aside from the aesthetics, editing your videos will help you create a unique video. With so many features, Animoto makes creating a video easy.