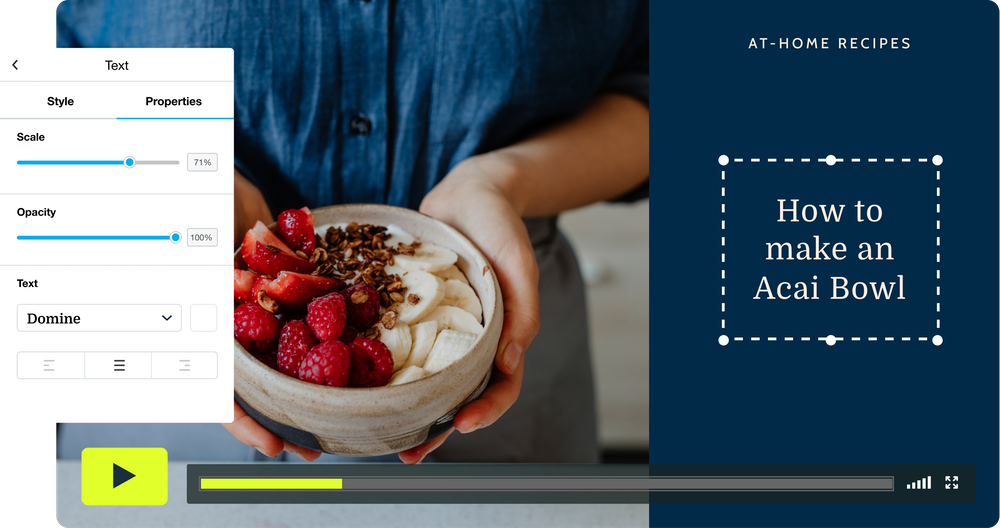
If you’ve ever wondered how to make tutorial videos, here’s a simple guide to creating an informative video: write a script. Having a script allows you to see what your ideas will look like and review them before putting them on video. Using a storyboard also helps your audience know what your video will be about. Here are a few ways you can incorporate a storyboard into your tutorial video.
Writing a script
Before you start writing your script for tutorial videos, make sure you’re sure about what you’re aiming to cover. It should be between three and eight minutes, although a longer video may support the learning objectives better. To ensure a smooth editing experience, write your script in short scenes that will flow smoothly. Use conversational language whenever possible, and swap formal language for informal to improve the flow of your text. You can also use action-oriented words and phrases in your script to keep your viewers engaged.
A video script should include visuals and camera cues. To avoid confusion during production, use a template to guide you. The script should match the tone of your visuals. Try to imagine how the script will look on the screen before you begin writing. If you can, visualize the way the script will look on the screen to save time. Keep your tone casual. Do not use a formal tone that could be off-putting to viewers or sound stiff when read aloud.
Creating a storyboard
When it comes to creating a tutorial video, it is important to consider your audience and the message that you wish to convey. Your words should tell the viewer the entire story, without leaving any room for confusion. Similarly, you should consider your publishing channel, which will affect the nature and content of your video. A storyboard can help you avoid any mistakes by making it easy for you to explain your tutorial video’s steps to potential viewers.
Firstly, a storyboard does not have to be a work of art. It will be used for planning purposes and no one will see it, so the less detail, the better. Also, it is not necessary to outline every frame in great detail, as less detail will save you time later on. If you are not a professional illustrator, you can use stick figures. Also, you don’t need to outline every frame of your storyboard.
Using screen recording software
Using screen recording software to make tutorial videos is fast and easy. You can record any part of the screen, audio, and webcam. There are also many professional features such as annotation tools and blur effects. You can export the recording as a video or save it as a screenshot for later viewing. Depending on your needs, you may want to add a logo or watermark to the recording. Using screen recording software to make tutorial videos will save you from hours of work!
If you’re a beginner, you may want to start with a free program like Webinaria. This free screen recording software has all the features you’ll need to create your tutorial videos, including the ability to record a full screen or a window. It also lets you record audio, text, and images, and offers built-in video editing features. Once you’ve finished your recording, you can easily upload it to YouTube or save it as a WMV file.
Using YouTube annotations
Annotations allow you to create short, visual explanations of complicated concepts. YouTube gives you various ways to add annotations, including pop-up boxes, a label, and a speech bubble. You can customize and move them on the timeline. However, you can only use a certain amount of space per annotation. Depending on the type of annotation, it may not be possible to cover more than 30% of the video player.
Choosing the right length of YouTube annotations is very important. While they add value to your videos, they should be placed in the right spot to prevent them from interfering with the video experience. To make sure that your annotations are placed in the right place, try watching the video from the beginning. In order to determine its duration, you can use the magnifying bar. If the annotation doesn’t cover a large area of the video, you can place it at the bottom.
Using a video-sharing site
If you’re a teacher looking to make tutorial videos for your classes, you’ll probably want to look at the many different video-sharing sites available. YouTube is the largest and second-most popular video-sharing site in the world. It’s free to use, but you can also make money from your own channels and embed your videos in your website. Here are some tips to make your tutorial videos more successful:
If you’re using a webcam, you’ll want to position yourself a bit up from your screen. You can use the front-facing camera if you’re shooting a solo tutorial. Be sure to look at the camera and position yourself slightly off-center in the frame. You can also add text to the video and use timestamps. There are many other ways to make your videos look better than before.

